Disclaimer: In this series we’ll describe how we move from Parse to AWS. In no way do we claim that this is the best way to do things. This is simply a narration of steps we took. In fact, if you have found better ways of doing the same, we’d love to hear about it!
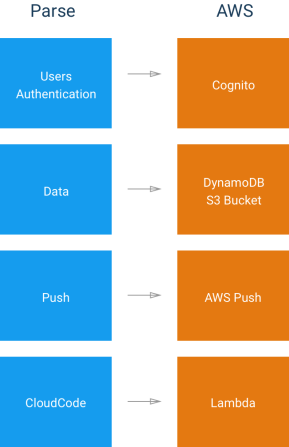
Ok! Now we’re at the final step of data migration. By the end of this episode, we will have our data all ported over from Parse to DynamoDB and we’ll be ready to move on to addressing other features like Push Notifications, User management etc. Let’s quickly review our migration plan so far.
Plan Progress
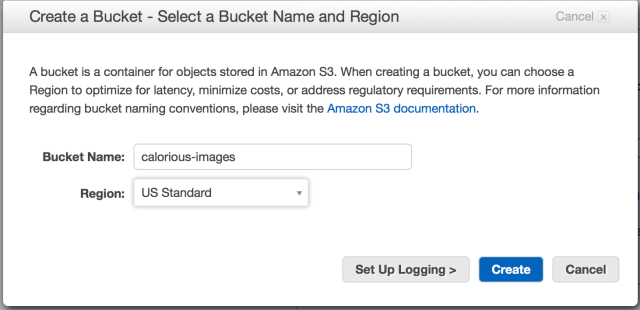
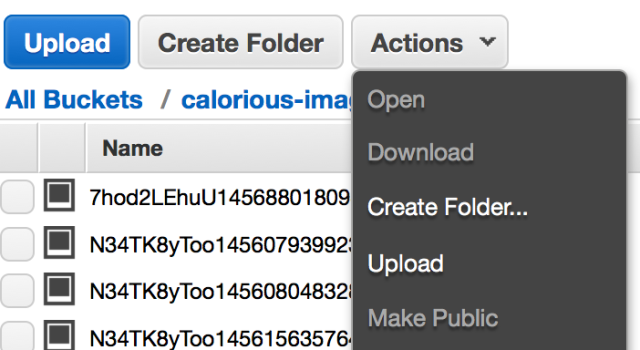
Export our data out of parse(Done)Export our images out of parse(Done)Format Parse data into dynamoDB compatible data(Done)Put all our images into an S3 bucket with the same unique name that parse gave them(Done)- Import the JSON data we get out of Parse into DynamoDB along with the unique image names for our files.
For step 5, we’ll be using the JSON files we created at the end of Episode 2
Method 1: Data Pipelines ( We ended up not using this )
If you google, “importing data into aws dynamoDB”, you’ll be bombarded with links that tell you that Data Pipelines are the way to go. It sounds great, but there are some things we discovered that is worth considering before you go that route.
- What is the correct format?? – We had no idea how to format our JSON files for data pipelines to work. There doesn’t seem to be an easy to find sample which we could replicate (or at least there wasn’t when we were doing this). So we resorted to trial and error. Don’t worry, we’ll share with you exactly what format you need… You’re Welcome!
- Oh dang, it costs money! – The default box that aws uses to Import DynamoDB backup data from S3 is m3… which is not covered under the free tier. Not knowing this, we kept trying data pipelines with various wrong formats of data and incurred about $10 in fees in one day! Ok, lesson learned, let’s use a smaller box. We edited our config to use a smaller m1 linux box which spit out the following in our faces:
ERROR: Instance type m1.small is not supported on AMI ‘3.8.0’
- It gets more complicated but We wanted to get this entire migration done without spending $$ and too much time and effort… data pipelines was looking like a no-go
So in case you still want to go ahead and use the data pipelines, the correct format for input files is the following:
{"Name": {"S":"Amazon DynamoDB"},"Category": {"S":"Amazon Web Services"}}
{"Name": {"S":"Amazon push"},"Category": {"S":"Amazon Web Services"}}
{"Name": {"S":"Amazon S3"},"Category": {"S":"Amazon Web Services"}}
As you can see, the file should contain dynamoDB JSON objects separated by newline. Make sure you go over the dynamoDB format – don’t have empty strings etc because each time the import fails, it’ll cost you to try again.
Method 2: Old faithful Node app (recommended)
Node has certainly been our friend throughout this process. So once more we resorted to a simple Node app to push data into DynamoDB. What’s even better is that AWS SDK’s DynamoDB DocClient supports regular JSON… so we don’t need to try to get the perfect dynamoDB json format. Well, we can keep talking about this… but you probably wanna just see the code already! so … here it is
/*********************************
Simple Demo for loading files into
DynamoDB.
**********************************/

//package to read json files
var jsonfile = require('jsonfile');
//AWS node sdk
var AWS = require('aws-sdk');

//need to update region in config
AWS.config.update({
    region: "us-east-1"
});

//create a doc client to allow using JSON directly
var docClient = new AWS.DynamoDB.DocumentClient();

//prepared JSON file
//[{ ... }, { ... }]
var placeFile = "data/places.ddb.json";
var placeArray = jsonfile.readFileSync(placeFile);

//utility function to create a single put request
function getPlace(index){
    return {
        TableName: 'Places',
        Item: placeArray[index]
    };
}

//recursive function to save one place at a time
function savePlaces(index){
    if(index == placeArray.length){
        console.log("saved all.");
        return;
    }

    var params = getPlace(index);
    //spit out what we are saving for sanity
    console.log(JSON.stringify(params));
    //use the client to execute put request.
    docClient.put(params, function(err, data) {
        if (err) {
            console.log(err);
        }else{
            console.log("saved Place item "+index);
            index += 1;
            //save the next place on the list
            //with half a second delay
            setTimeout(function(){
                savePlaces(index);
            }, 500);
        }
    });
}

//start saving from index - 0
savePlaces(0);
So… all we’re doing here is the following:
- Read our prepared JSON file from Episode 2. Hold the array of objects in memory
- Read the first item, create a JSON object to put in dynamoDB, send out put request
- Upon successful put, wait half a second, send out second push.
- The console log methods help us determine what exactly we’re pushing (and what index we’re on)
- Now lets say the app throws after pushing item 35. We know that something was wrong with item 36… so we quickly check our file, fix it… then edit “savePlaces(0)” (line 59) to say “savePlaces(36)” … and we will continue from 36 again.
Let it run till all your objects are pushed…. and Boom! Your DynamoDB is now ready to start serving your client side applications.
A Quick Recap
At this point, we have all our data extracted from Parse and imported into DynamoDB. All our images are stored in S3 Bucket and their names are stored with respective items in DynamoDB. We are now ready to start connecting the dots and pulling, pushing data via a mobile app. I hope you are finding the series useful so far… we would love to hear from you about your experience/tips etc. Please feel free to leave us comments, feedback or maybe an emoji! Until next time… Eat Responsibly!