

Disclaimer: In this series we’ll describe how we move from Parse to AWS. In no way do we claim that this is the best way to do things. This is simply a narration of steps we took. In fact, if you have found better ways of doing the same, we’d love to hear about it!
First of all, we’d like to apologize for the delay in posting this episode. A family celebration at Calorious had us all distracted and eating cake! We are now back on track and in full form. So to recap, let’s review our progress so far:
Plan Progress
Export our data out of parse(Done)Export our images out of parse(Done)Format Parse data into dynamoDB compatible data(Done)- Put all our images into an S3 bucket with the same unique name that parse gave them
- Import the JSON data we get out of Parse into DynamoDB along with the unique image names for our files.
So In this blog, we’ll talk about step 4.
Uploading Images to S3
In episode 1, we wrote a quick node app to recursively download all our images. While this might be good for small scale solution (few thousand files). For much larger set of files, it might be better to use the node aws sdk to upload the images directly to S3. For our usecase though, we took the easiest route – download all images locally, then upload using the aws console.
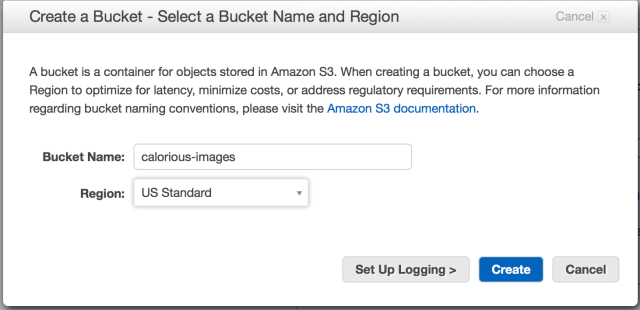
Create a bucket
So first, lets create a bucket where we will store the images. Log into your amazon s3 console. and create a new bucket.
Once the bucket is created, click the bucket to enter it in the console. Now you get the option to upload files
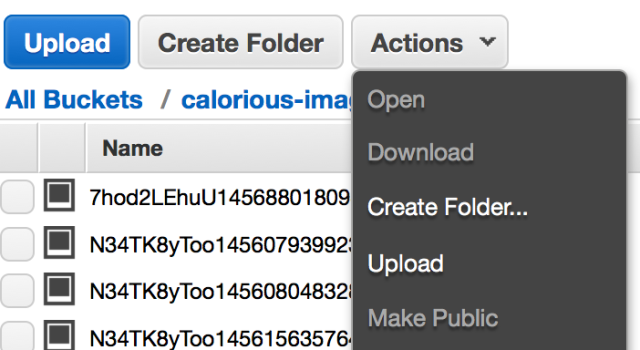
Click on upload, that brings up a prompt to allow for multiple file uploads. Select all the files we downloaded in Episode 1, and upload them. Once done, all your files with the correct name will now be in your S3 bucket.
Permissions
By default all buckets are private. Which means, if you need to access these files from an app, you need to permission them with the right credentials. Fot this, go to the IAM console.
- Click on Roles in the sidebar and pick the role you want to give permission to. Tip: if you have used mobile hub, a role for your authenticated users has already been created for you. it’ll look something like this – <app name>_auth_MOBILEHUB_<numbers>
- Once you have picked the correct role, click on “Create Role Policy” button.
- Use policy generator, makes life a little easier
- When you hit select, you’ll get to a screen with a few options. Pick the following
- Effect – Allow
- AWS Service – Amazon S3
- Actions:
- DeleteObject
- GetObject
- PutObject
- RestoreObject
- It’ll generate a policy that looks somewhat like the following:
{
    "Version": "2012-10-17",
    "Statement": [
        {
            "Sid": "<auto-generated>",
            "Effect": "Allow",
            "Action": [
                "s3:DeleteObject",
                "s3:GetObject",
                "s3:PutObject",
                "s3:RestoreObject"
            ],
            "Resource": [
                "arn:aws:s3:::calorious-images/*"
            ]
        }
    ]
}
All set! You are now ready to read/write to this bucket from your app! Until next entry… you got it… EAT RESPONSIBLY!
